Take all your pear scraps, and yes, that includes the cores and everything, and go ahead and put them into a large pot on the stove.
Now pour in your 8 cups of water. Once that’s in, bring everything up to a boil, then reduce the heat and let it simmer for about one hour. You just want all that flavor to cook out of the peels and cores.
After an hour, go ahead and strain everything. You’re separating the liquid from the solids here, so discard the scraps and keep that juice.
Now measure out your juice. You’re going to need 4 cups for a single batch, but if you’ve got enough like we did, go ahead and double it to 8 cups and pour that into a saucepan.
Bring your juice to a full boil. Once it’s boiling, add in your pectin — that’s your Sure Jell. Stir it in and let it boil for one full minute.
After that, add in your sugar all at once. Stir it around really well so everything dissolves, then bring it back to a boil and let it go for one more minute. Then take it off the heat.
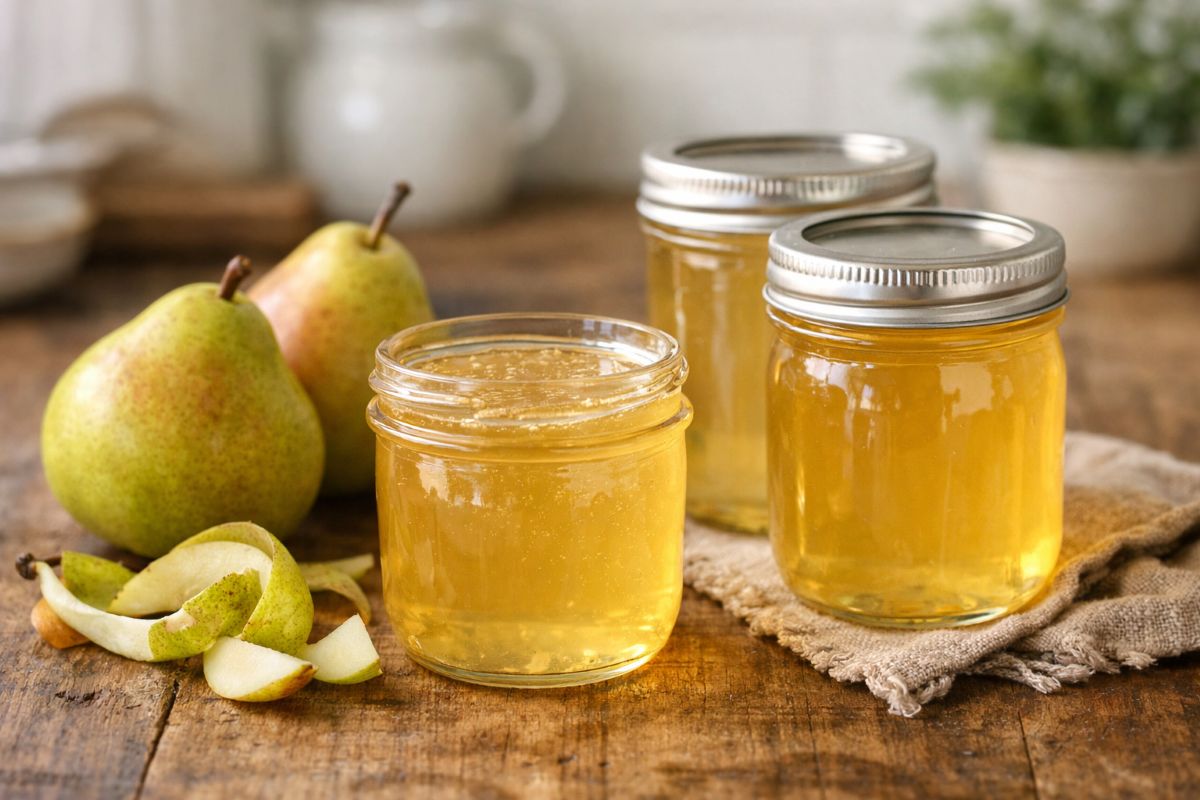
Carefully ladle the hot jelly into your jars, leaving about half an inch of space at the top. Don’t forget to wipe the rims clean before putting your lids on.
Place your lids on, screw the bands on, and then transfer the jars into a boiling water bath. Process them for 10 minutes. If you’re working in batches, just repeat the process until all your jars are done.
Once they’re finished, take them out and let them cool completely. You’ll start to see that beautiful jelly set as they sit.