Denver steak recipe
Denver steak is exactly what you make when you want something quick but still feel like you’re eating really good. It’s all about a hot pan, simple seasoning, and letting the steak do its thing. No complicated steps, just real flavor.
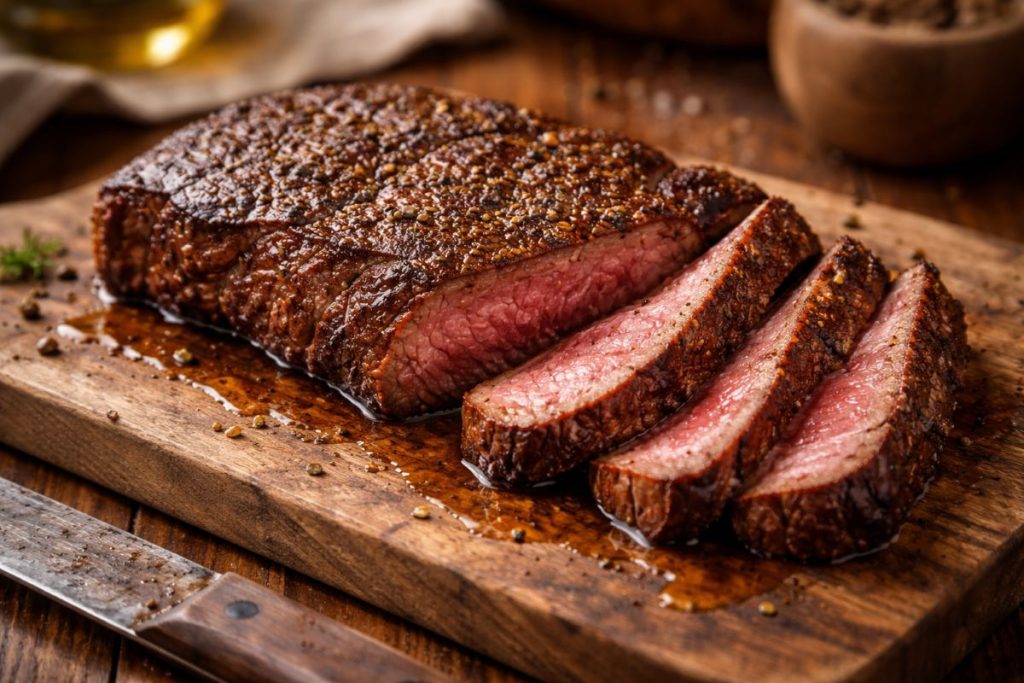
Denver steak recipe is one of those simple, no-fuss meals that delivers big, juicy flavor every single time. If you’ve got a good cut of steak, a hot pan, and a few basic seasonings, you’re already halfway there. This method keeps things easy but still gives you that perfect sear and tender bite.
What makes this Denver Steak recipe the best on the internet
- Super simple ingredients you probably already have
- No complicated techniques, just straight-to-the-point cooking
- Perfectly seared outside with a juicy, tender center
- Uses a hot pan method that works every time
- Flexible seasoning so you can adjust to what you have at home
Ingredients
- 1 Denver steak (about 10–12 oz)
- 1 tablespoon olive oil
- 1 teaspoon salt (adjust to taste)
- 1 teaspoon garlic powder
How to Make This Denver Steak Recipe
First thing, we’re gonna heat up our pan to medium-high heat. You want it nice and hot before anything goes in.
Add your olive oil to the pan. Let that heat up properly.
While that’s happening, grab your steak and pat it dry. Don’t skip this part, it helps you get that good sear.
Now we’re seasoning. I don’t have pepper right now, so we’re using garlic powder, but if you have it please go ahead and use it. Sprinkle that over the steak. Don’t overthink it.
Add your salt. You can adjust as you go, but make sure it’s evenly coated.
Once your pan is hot, place the steak in. You should hear that sizzle right away.
Let it cook without moving it around too much. That’s how you get that nice crust.
Flip it once the bottom is nicely browned and cook the other side.
Keep an eye on it until it reaches your preferred doneness.
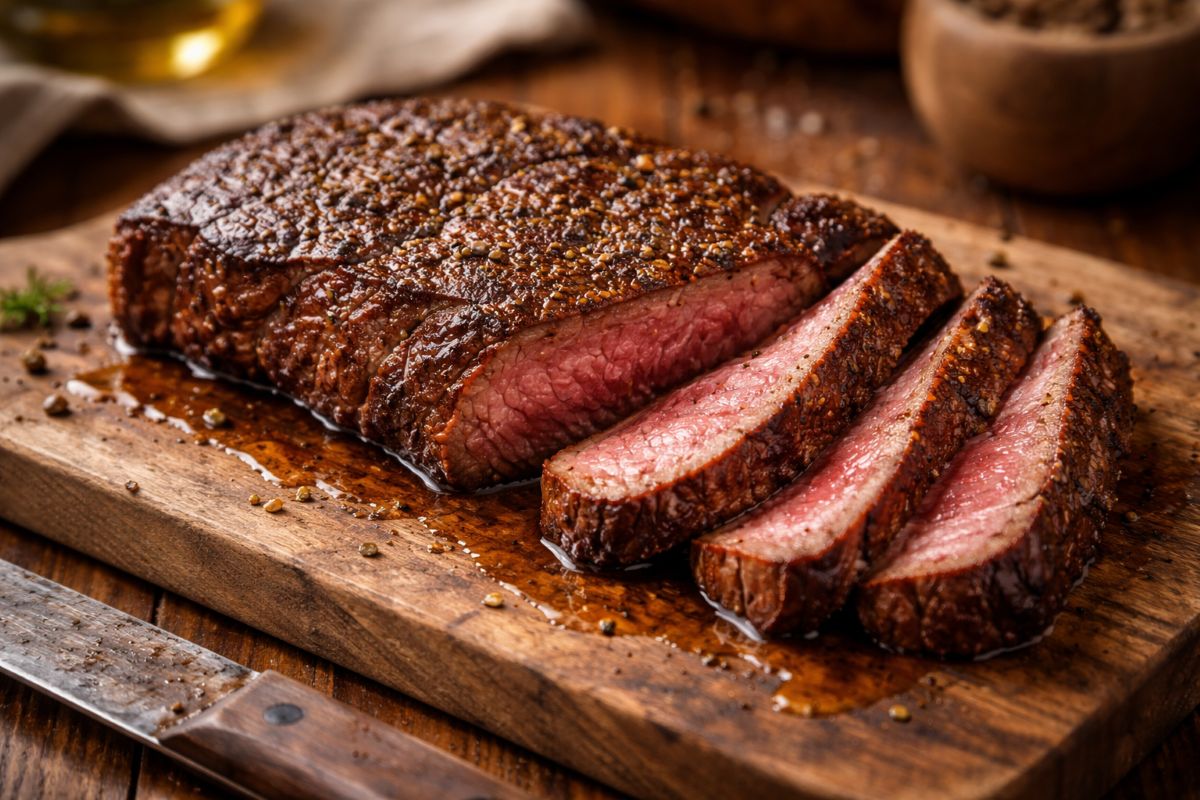
Once it’s done, take it off the heat and let it rest for about 4 to 5 minutes. This part is important, don’t skip it.
Then slice it up and you’re good to go.
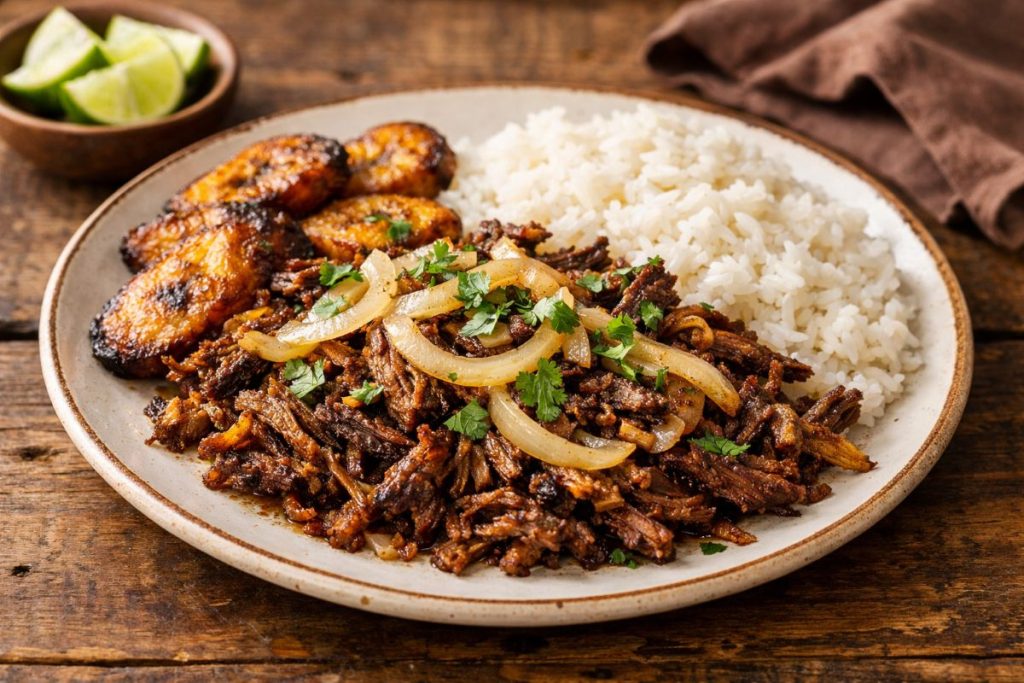
Serving Suggestions
- Serve with crispy fries or roasted potatoes for a classic plate
- Pair with a fresh salad for something lighter
- Add it next to rice and sautéed veggies for a balanced meal
Storage Tips
- Store leftovers in an airtight container in the fridge for up to 3 days
- Not ideal for freezing as steak can lose texture, but you can freeze if needed for up to 2 months
- Reheat gently in a pan over low heat to avoid drying it out
- You can also slice it and reheat quickly for wraps or sandwiches
More 5-star recipes to try next


Denver Steak Recipe
Ingredients
Method
- First thing, we’re gonna heat up our pan to medium-high heat. You want it nice and hot before anything goes in.
- Add your olive oil to the pan. Let that heat up properly. While that’s happening, grab your steak and pat it dry. Don’t skip this part, it helps you get that good sear.
- Now we’re seasoning. I don’t have pepper right now, so we’re using garlic powder. Sprinkle that over the steak. Don’t overthink it. Add your salt. You can adjust as you go, but make sure it’s evenly coated.
- Once your pan is hot, place the steak in. You should hear that sizzle right away. Let it cook without moving it around too much. That’s how you get that nice crust.
- Flip it once the bottom is nicely browned and cook the other side. Keep an eye on it until it reaches your preferred doneness.
- Once it’s done, take it off the heat and let it rest for about 4 to 5 minutes. This part is important, don’t skip it. Then slice it up, and you’re good to go.