Pickled herring recipe
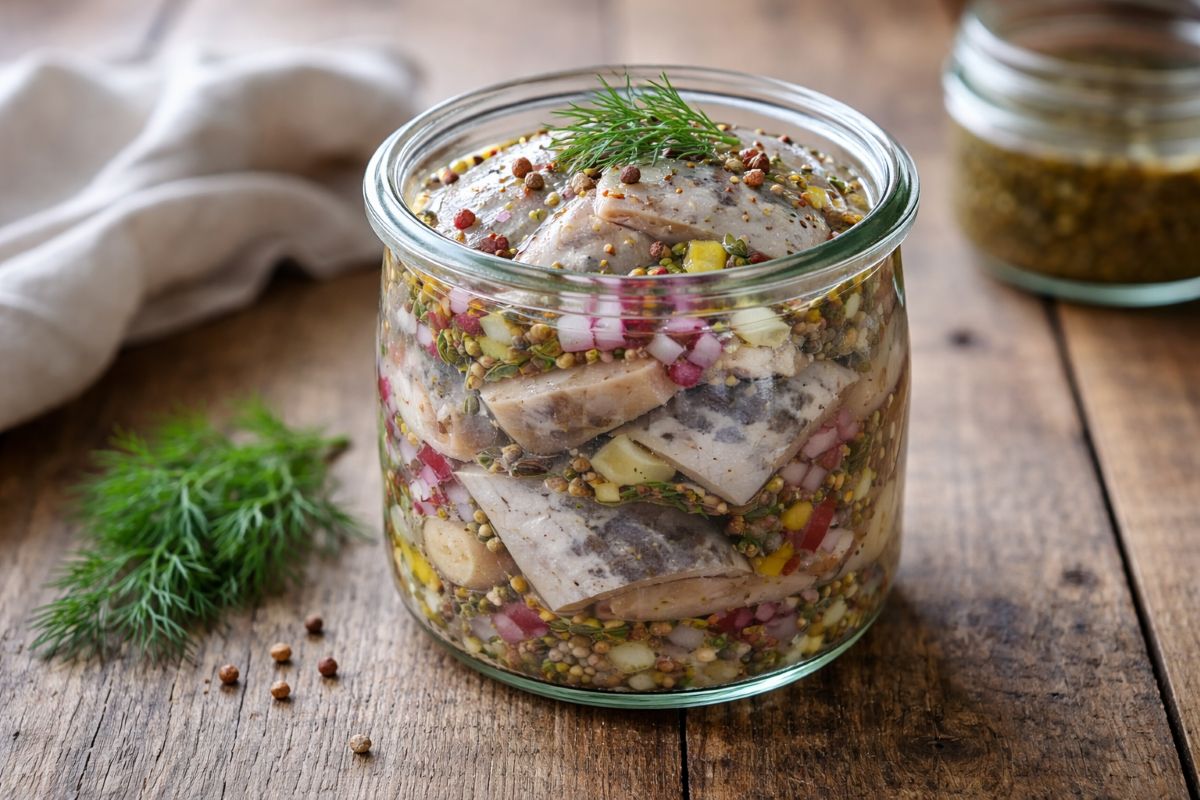
Pickled herring recipe done the traditional way, layered with onions, spices, and a generous amount of sugar that slowly transforms everything in the jar. This Berantviksill is simple to put together, but the flavor you get after a few days in the fridge is next level.
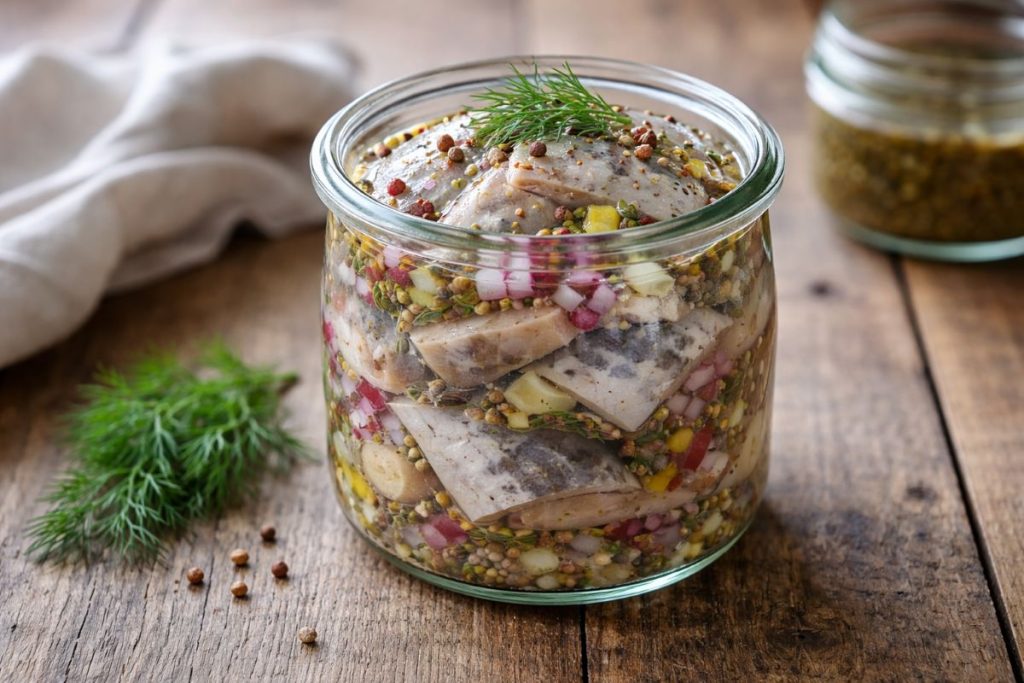
This marinated herring is all about simple ingredients coming together in the best way. The combination of onions, spices, sugar, and fresh dill slowly transforms in the fridge, creating a balanced mix of sweet, salty, and tangy flavors. Each layer builds on the next, and after a few days, you’re left with something that’s rich, bold, and incredibly satisfying.
Pickled herring recipe inspired by Berantviksill, a classic from southern Sweden that’s all about bold flavor and simple steps. You layer herring with onions, spices, and herbs, let it rest, and what you get is something rich, balanced, and honestly hard to stop eating.
What makes this Swedish pickled herring recipe the best on the internet?
- It uses a simple layering method that builds deep flavor without complicated steps
- The sugar and salt slowly dissolve, creating a perfectly balanced brine right in the jar
- A mix of black pepper, white pepper, and lemon pepper gives it a bold, unique taste
- Fresh dill and lemon zest bring brightness that cuts through the richness of the herring
- It gets better with time, meaning you can prep it ahead and enjoy it over several days
Ingredients
- 500g salted herring (desalted if needed, cut into bite-sized pieces)
- 1 yellow onion, finely chopped
- 1 red onion, finely chopped
- ¾ cup sugar
- 2 tablespoons salt
- 1 teaspoon black pepper
- 1 teaspoon white pepper
- 1-2 bay leaves, crushed
- 1 teaspoon lemon pepper
- Zest of 1 lemon (use about a teaspoon)
- 2–3 tablespoons fresh dill, chopped
How to Make Pickled Herring Recipe
Start by getting your onions ready. Take your yellow onion and your red onion and chop them into small pieces. You want everything nice and even so it mixes well later.
Now move on to your spice mix. Add your black pepper, white pepper, bay leaves, and lemon pepper into a bowl. Crush everything together so it forms a rough, fragrant mix. This is where a lot of the flavor comes from, so don’t rush this step.
If you’re using lemon zest, go ahead and add that in, along with your fresh dill. Give it a quick mix so everything is combined.
Next, cut your herring into pieces—whatever size you prefer. Some like it a bit chunkier, others go smaller. Do what works for you.
Now bring it all together. Take your onion mixture and add in the sugar and salt. Mix everything well so the onions are coated and the sugar starts to distribute evenly.
Grab a clean jar and start layering. Begin with a layer of the onion mixture at the bottom, then add a layer of herring. Keep going like that—onions, herring, onions, herring—until everything is used up.
Once done, seal the jar and place it in the fridge. Let it sit for about three days. During this time, the sugar will dissolve and turn into a light brine, pulling all the flavors together.
After three days, it’s ready—and that’s when it really tastes the way it’s supposed to.
Serving Suggestions
- Serve it with boiled potatoes and a dollop of sour cream for a traditional-style meal
- Add it to crispbread or toasted bread for a simple, flavorful bite
- Pair it with a fresh salad to balance out the richness
Storage Tips
- Store in an airtight jar in the fridge for up to 1–2 weeks
- The flavor continues to develop over time, so it often tastes even better after a few extra days
- Not freezer-friendly, as freezing will affect the texture of the herring and onions
- No reheating needed—this is best served cold straight from the fridge
More 5-star recipes to try next
Pickled herring recipe
Ingredients
Method
- Start by getting your onions ready. Take your yellow onion and your red onion and chop them into small pieces. You want everything nice and even so it mixes well later.
- Now move on to your spice mix. Add your black pepper, white pepper, bay leaves, and lemon pepper into a bowl. Crush everything together so it forms a rough, fragrant mix. This is where a lot of the flavor comes from, so don’t rush this step.
- If you’re using lemon zest, go ahead and add that in, along with your fresh dill. Give it a quick mix so everything is combined.
- Next, cut your herring into pieces—whatever size you prefer. Some like it a bit chunkier, others go smaller. Do what works for you.
- Now bring it all together. Take your onion mixture and add in the sugar and salt. Mix everything well so the onions are coated and the sugar starts to distribute evenly.
- Grab a clean jar and start layering. Begin with a layer of the onion mixture at the bottom, then add a layer of herring. Keep going like that—onions, herring, onions, herring—until everything is used up.
- Once done, seal the jar and place it in the fridge. Let it sit for about three days. During this time, the sugar will dissolve and turn into a light brine, pulling all the flavors together.
- After three days, it’s ready—and that’s when it really tastes the way it’s supposed to.