Blackberry compote recipe
Blackberry compote recipe that’s not overly sweet, not complicated, and honestly just lets the berries shine. This is one of those recipes where you don’t need fancy techniques—you just stay close to the stove, stir it up, and let it come together into something really good.

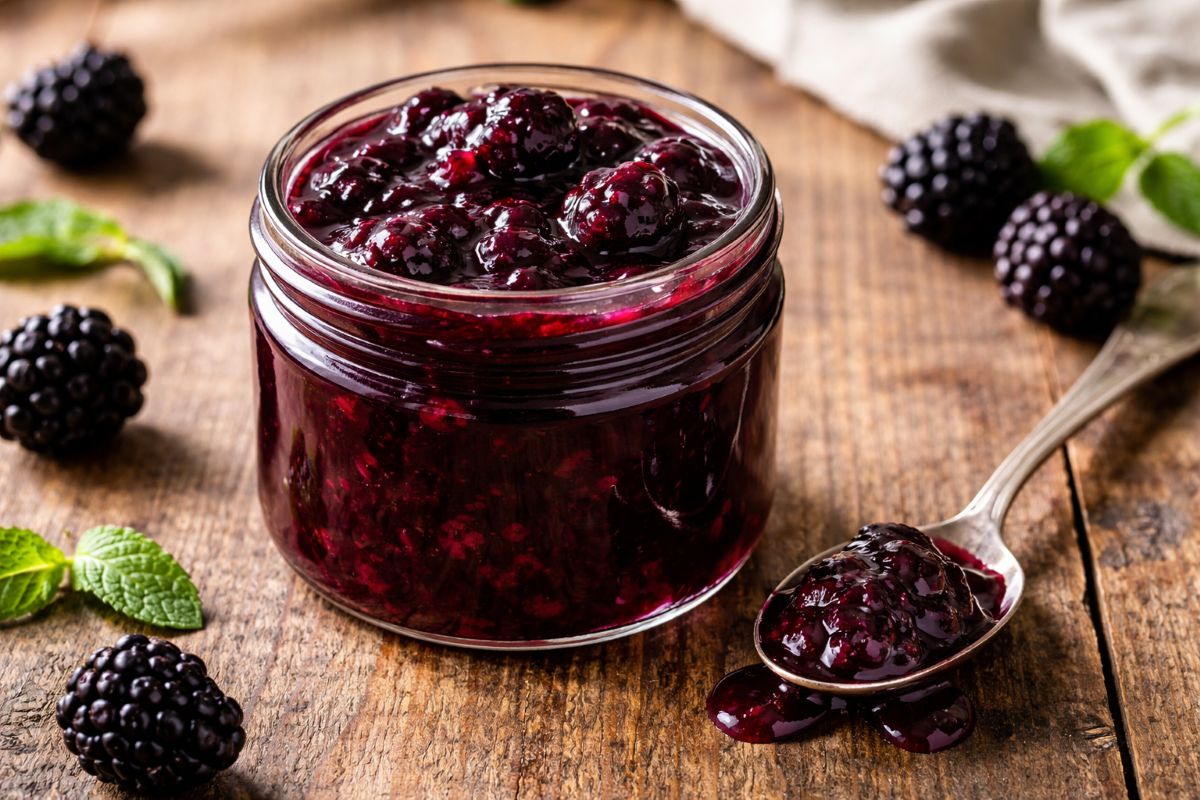
Blackberry compote recipe made easy, simple, and actually worth it. I know boiling berries might sound a little strange at first, but trust me—once you see how they break down into this thick, glossy, flavorful sauce, you’re going to want to put it on everything.
This blackberry puree recipe is made with just a handful of ingredients, it creates a thick, glossy sauce that’s perfect for desserts, breakfasts, or pastries. It’s not overly sweet, letting the natural taste of the berries shine through, and comes together in just about 20 minutes on the stovetop.
What makes this the best blackberry compote recipe on the internet?
- It uses simple, everyday ingredients you probably already have
- The flavor is true to the berries, not overly sugary like store-bought jam
- It’s versatile—works with blackberries or any berries you have
- The texture is perfectly thick and glossy without gelatin
- It’s quick to make in about 20 minutes
Ingredients
- 2 cups fresh or frozen blackberries (or any berries)
- Juice of ½ lemon
- ¼ cup sugar (adjust to taste)
- Pinch of salt
- 1 tablespoon cornstarch
- 1 tablespoon water
How to Make Blackberry Compote Recipe
Start by adding your berries straight into a pan on the stovetop over medium heat. Don’t worry about anything fancy here—just get them in the pan and let’s get going.
Next, add in the juice of half a lemon. This is going to brighten everything up and really bring out that berry flavor. Then go in with about a quarter cup of sugar and just a pinch of salt. The salt might seem small, but it makes a difference.
Now here’s the part that feels a little weird—we’re going to let this boil. Just give it time. At first it’s going to look like nothing is happening, but as the berries heat up, they’ll start to break down and release their juices.
Stay close to the stove for this part. I like to stand there and kind of micromanage it a little—just stirring consistently so nothing sticks to the bottom or overheats. This whole process takes about 20 minutes, so don’t rush it.
Once your mixture starts bubbling and looking nice and juicy, we’re going to thicken it. In a small bowl, mix together one tablespoon of cornstarch with one tablespoon of water to make a slurry.
Slowly pour that into the compote while stirring constantly. You’ll notice it start to thicken pretty quickly, turning into that smooth, glossy texture we want.
At this point, taste it. If you want it sweeter, go ahead and add a little more sugar. If not, leave it as is—it’s meant to be a little more natural and not overly sweet.
Once it’s thick and looks almost gelatinous (without actually using gelatin), you’re done. Take it off the heat and let it cool slightly.
Serving Suggestions
- Spoon it over cheesecake for a simple but impressive dessert
- Use it as a filling or topping for danishes and pastries
- Add it to pancakes, waffles, or yogurt for a quick upgrade
Storage Tips
- Store the blackberry compote in an airtight container in the fridge for up to 5 days
- Yes, it’s freezer-friendly—freeze for up to 2 months
- To reheat, warm it gently on the stove or in the microwave, stirring occasionally
- If it thickens too much after chilling, just add a splash of water while reheating
More 5-star recipes to inspire you to try next


Blackberry compote recipe
Ingredients
Method
- Start by adding your berries straight into a pan on the stovetop over medium heat. Don’t worry about anything fancy here—just get them in the pan and let’s get going.
- Next, add in the juice of half a lemon. This is going to brighten everything up and really bring out that berry flavor. Then go in with about a quarter cup of sugar and just a pinch of salt. The salt might seem small, but it makes a difference.
- Let this boil. Just give it time. At first it’s going to look like nothing is happening, but as the berries heat up, they’ll start to break down and release their juices.
- Stay close to the stove for this part. I like to stand there and kind of micromanage it a little—just stirring consistently so nothing sticks to the bottom or overheats. This whole process takes about 20 minutes, so don’t rush it.
- Once your mixture starts bubbling and looking nice and juicy, we’re going to thicken it. In a small bowl, mix together one tablespoon of cornstarch with one tablespoon of water to make a slurry.
- Slowly pour that into the compote while stirring constantly. You’ll notice it start to thicken pretty quickly, turning into that smooth, glossy texture we want.
- At this point, taste it. If you want it sweeter, go ahead and add a little more sugar. If not, leave it as is—it’s meant to be a little more natural and not overly sweet.
- Once it’s thick and looks almost gelatinous (without actually using gelatin), you’re done. Take it off the heat and let it cool slightly.